What the rider needed from the decal kit
The client came to us from Wellington with a motorbike that needed a proper set of decals for off-road use. The bike was going to see dusty roads, muddy tracks and plenty of pressure washing between rides, so the graphics had to stay put and keep their edge. The rider also wanted a clean look that would not fight with the shape of the plastics, which is always important on a bike with curved panels and tight edges.
The brief covered both appearance and function. The rider needed identification, a neat panel layout and something that would not peel at the corners after a few rides. We also had to work around existing bolts, vents and plastic joints, so the finished kit would sit properly without lifting. For a bike like this, detail matters because even a small misalignment shows very quickly.
- Client type: private off-road rider
- Town: Wellington
- Use: off-road riding and regular wash-downs
- Goal: custom look with clear identification and long wear
Artwork checks and fit for the bike plastics
Before any cutting started, we checked the artwork carefully and compared it against the bike panels. That meant confirming the sizing for side shrouds, number plates and the rear sections, plus checking that the design sat in the available space without crowding edges. With motorbike graphics, a few millimetres can make a difference, especially where panels taper or curve inward.
We also looked at the finish the rider wanted. The job called for clean, bold graphics that would stand out without being too busy. Because the bike was used off-road, we kept the layout practical and readable. The design needed to show well in daylight and still be easy to spot when the bike was covered in dust. Leandri handled the studio and prepress checks, making sure the file was ready for print and cut, and that there were no issues with line weight or placement.
- Artwork checked for scale and panel fit
- Cut lines set for each section of the kit
- Layout adjusted to suit the bike shape
- Final proof checked before production
Materials used for dusty, washed-off-road use
For a Wellington rider, the material choice has to suit local conditions. The bike sees sun on the road, dust on the trails and moisture after wash-downs, so we used a vinyl system suited to hard wear. The graphics were printed and then protected with a laminated finish to help against scuffing, petrol splash and repeated handling. That extra layer also helps with cleaning because mud does not cling as badly to the surface.
We worked with a material setup that is commonly used for motorbike applications, with strong adhesive grip and enough flexibility to conform to plastic panels. The decals needed to stay in place in warm weather and also cope with cooler mornings in the Boland. Ruan and Mihlali handled the production side, and the kit was prepared for accurate fitting once all the pieces were cut and checked. It is the kind of job where a small mis-match on one panel can show up across the whole bike, so the process has to be tidy from the start.
- Printed vinyl with protective lamination
- Cut for individual bike panels and number plates
- Adhesive suited to plastic motorcycle surfaces
- Chosen for dust, sun and wash-down use
Cutting, finishing and fitting in Paarl
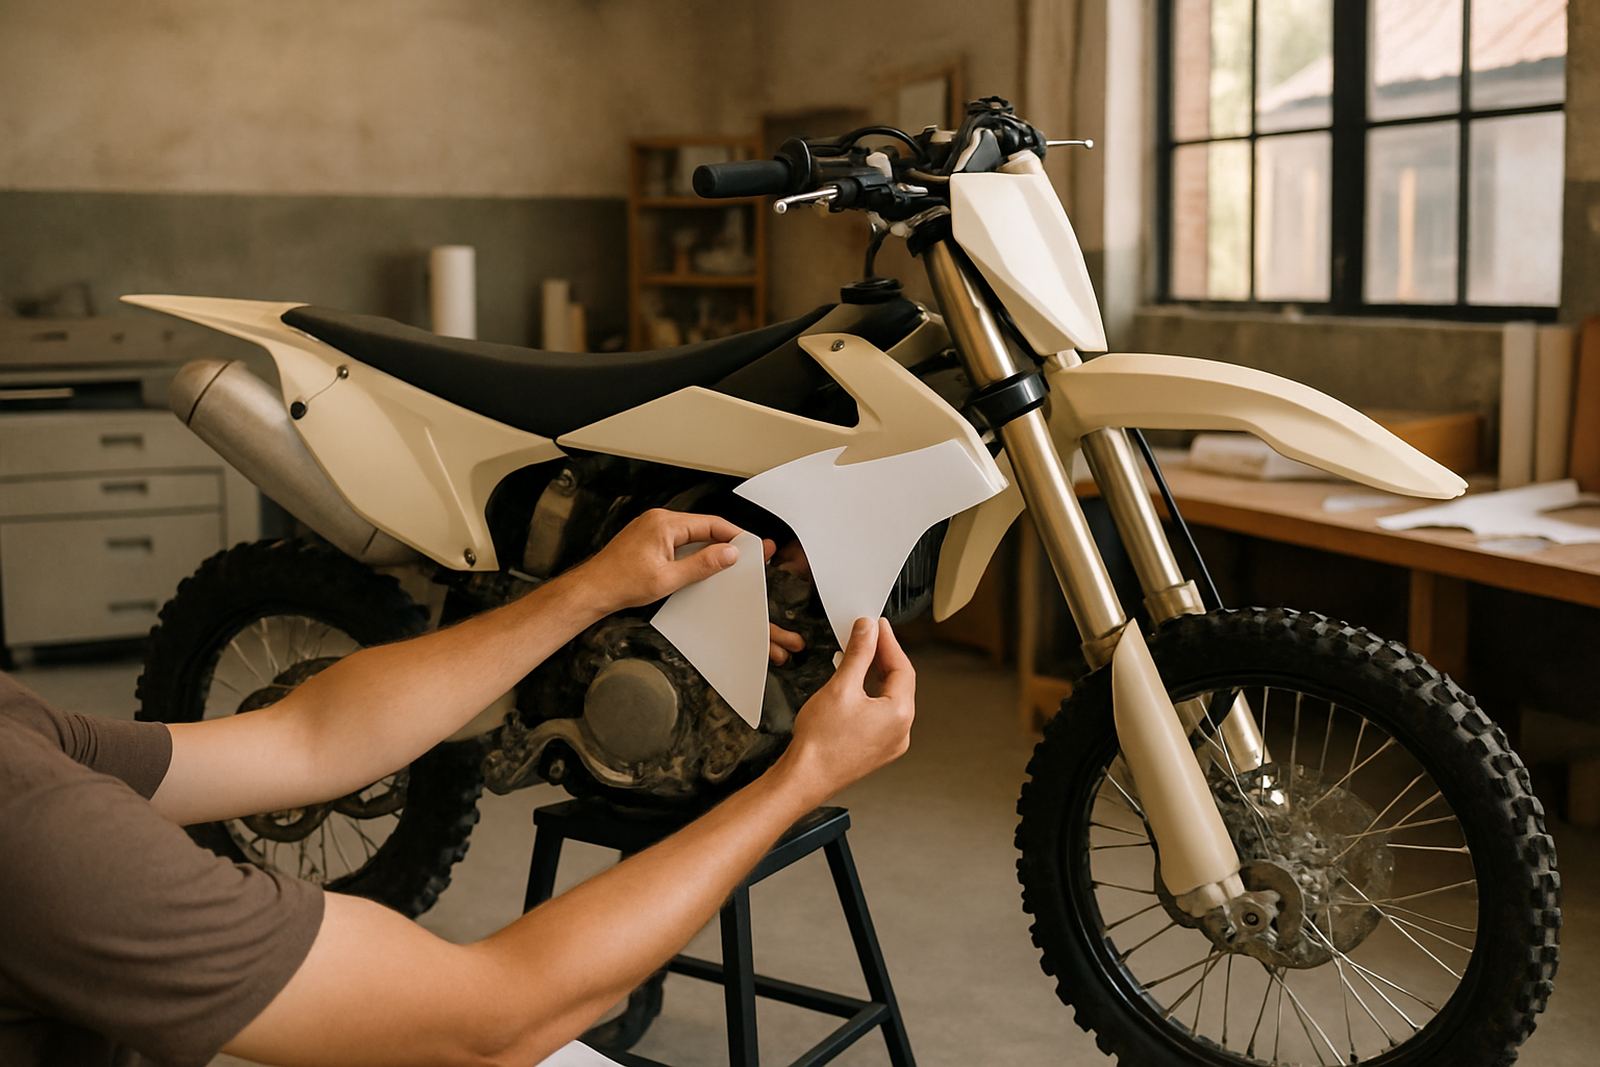
The job was completed at our Paarl base and fitted for the rider after the final checks were done. The cut pieces were finished neatly so the edges would sit cleanly, and the set was arranged for straightforward application on the bike. We paid close attention to alignment around curves and trims, because bike plastics can shift slightly as they are handled. That is where experience makes a real difference.
Anele handled the vehicle fitment side of the project, with help from the team to keep the sequence right from panel to panel. The decals were applied in the correct order so the kit followed the lines of the bike instead of fighting them. Once fitted, the finish looked tidy and balanced, with the graphics sitting straight and the key details easy to read. The rider wanted the bike to look ready for the trail, and that is what we delivered.
- Cut and finished in our Paarl workshop
- Applied panel by panel for accurate fitment
- Edges checked around curves and bolt points
- Final result suited the bike’s off-road shape
Turnaround time and what the client received
The full project took one week from confirmed artwork to fitted decals. That included checking the files, preparing the cut paths, printing and laminating the graphics, then fitting the kit to the bike. For a custom motorbike job, that turnaround worked well because the rider wanted the bike ready for the next outing without waiting too long. It also gave us enough time to make sure the pieces matched properly, which is very important on a smaller surface like a bike.
The client received a complete custom decal kit that was ready for use straight away. It gave the bike a sharper look, clearer identification and better visual presence on the trail. The rider also had a surface that could be washed after muddy rides without the graphics looking tired after the first clean. That is the practical part of the job, and one we aim for on every bike decal project, whether it is for a single rider or a small riding group.
- Timeline: 1 week
- Delivered: printed, cut, laminated and fitted
- Outcome: cleaner look and stronger visual identity
- Use case: trail riding and regular cleaning
What we would repeat on the next bike
If we were doing this kind of project again, we would follow the same process: start with a proper panel check, keep the layout practical and use a finish that can handle South African riding conditions. Off-road bikes take a beating, so we would always allow for dirt, abrasion and repeated pressure washing. That saves the rider from having to replace graphics too soon, and it keeps the bike looking cared for.
For Wellington and the wider Boland, bike decals need to work in real conditions, not just look good in the workshop. Strong colour, accurate cutting and neat fitment are the basics. We would also keep the artwork simple enough to read at speed, but detailed enough to give the bike its own identity. As with this job, the goal is to make the decals look like they belong there, not like they were added on as an afterthought.
- Use a full panel check before print
- Keep details readable at riding speed
- Choose materials that can handle wash-downs
- Fit with care around curves and seams
Key facts
| Project type | Custom motorbike decal kit |
|---|---|
| Client location | Wellington |
| Use case | Off-road riding |
| Material | Printed vinyl with protective lamination |
| Turnaround | 1 week |
| Service steps | Artwork checks, vinyl cutting, lamination, sign-style fitment |