
1. Start with the bike model and the exact parts you want covered
The first step is simple: tell us the bike make, model, year and whether you want a full decal kit, number graphics, or only specific panels covered. A 2018 model can have slightly different fairings to a 2020 model, so the year matters. If the bike has been repaired or resprayed, that also affects fit because panel edges may sit differently.
For accurate work, we usually need clear photos of the bike from both sides, front and rear. If you are in Paarl, Wellington, Stellenbosch, Franschhoek, Worcester or Malmesbury, you can send photos from your yard or garage and we can work from that. A quick note about the bike's use helps too, whether it is for road riding, track days, delivery work or show use.
- Bike make, model and year
- Colour of the panels under the decal
- Panels you want covered: tank, fairings, mudguard, tail section
- Current condition: scratched, painted, wrapped or original finish
- Whether you want race numbers, sponsor names or plain graphics
2. Choose the right decal material for local riding conditions
Motorbike decals need to handle heat, washing, road spray and sun. In the Boland, strong summer sun and dust can be hard on cheaper material, while coastal humidity can affect storage and fitment timing for riders closer to the Cape side. For that reason, we match the material to the job rather than using the same type for every bike.
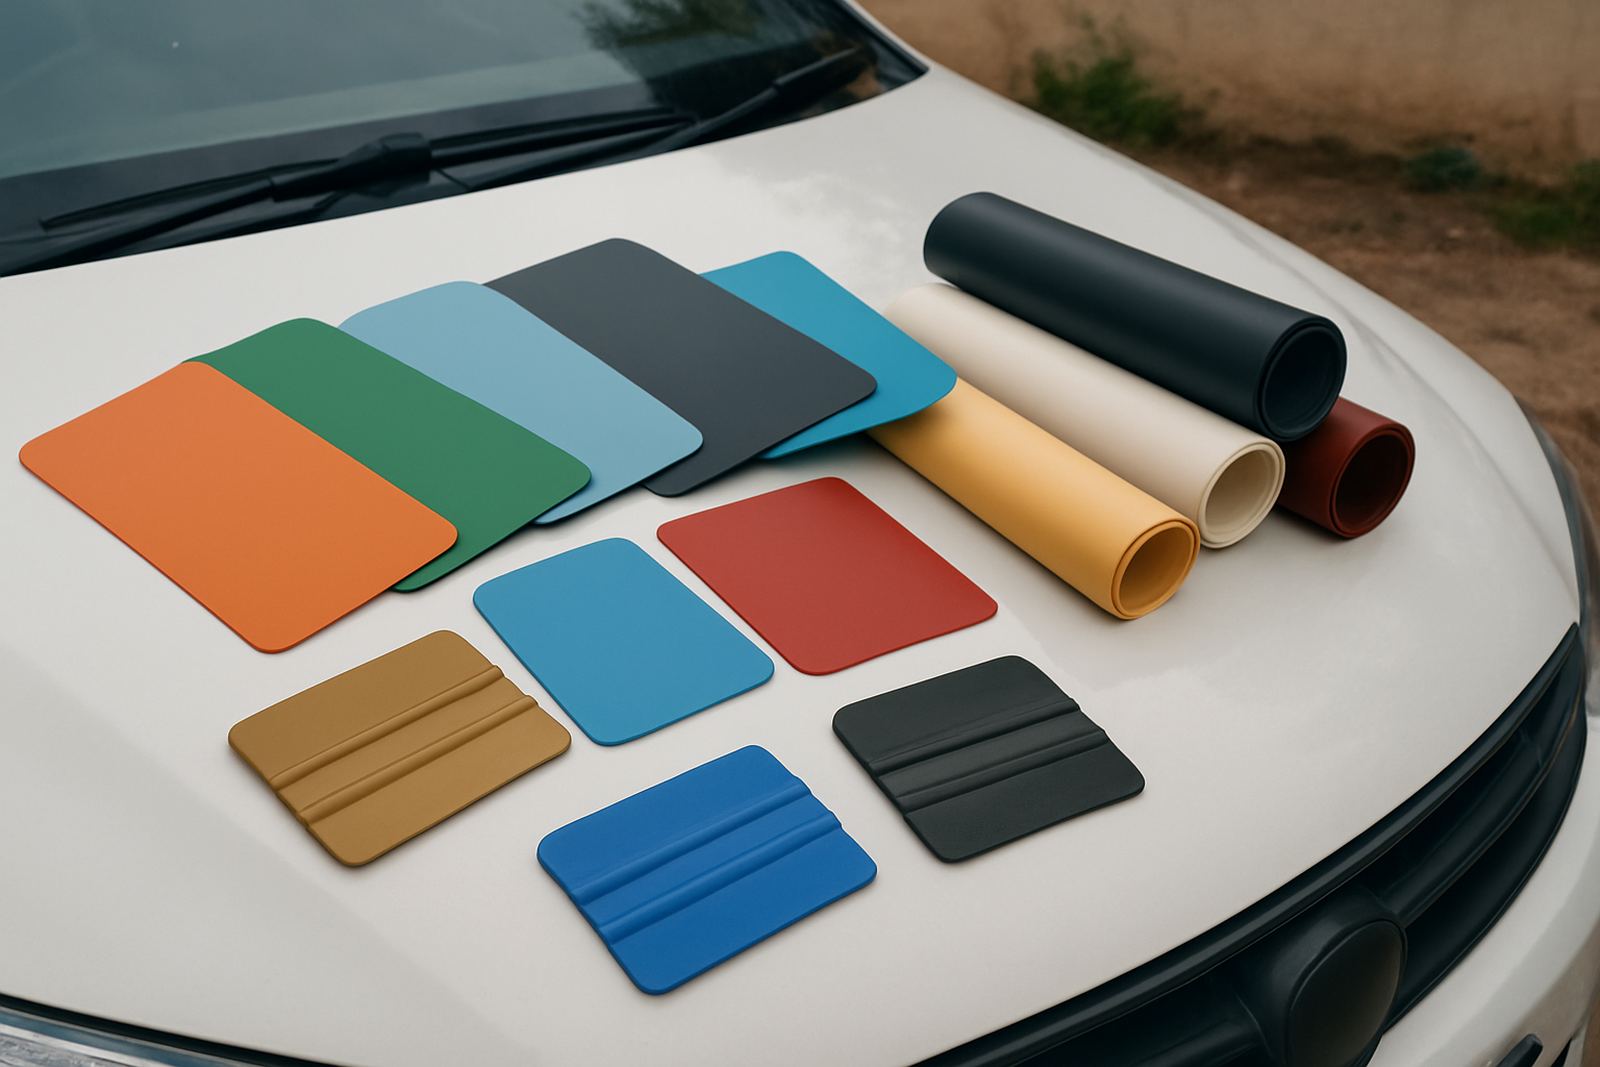
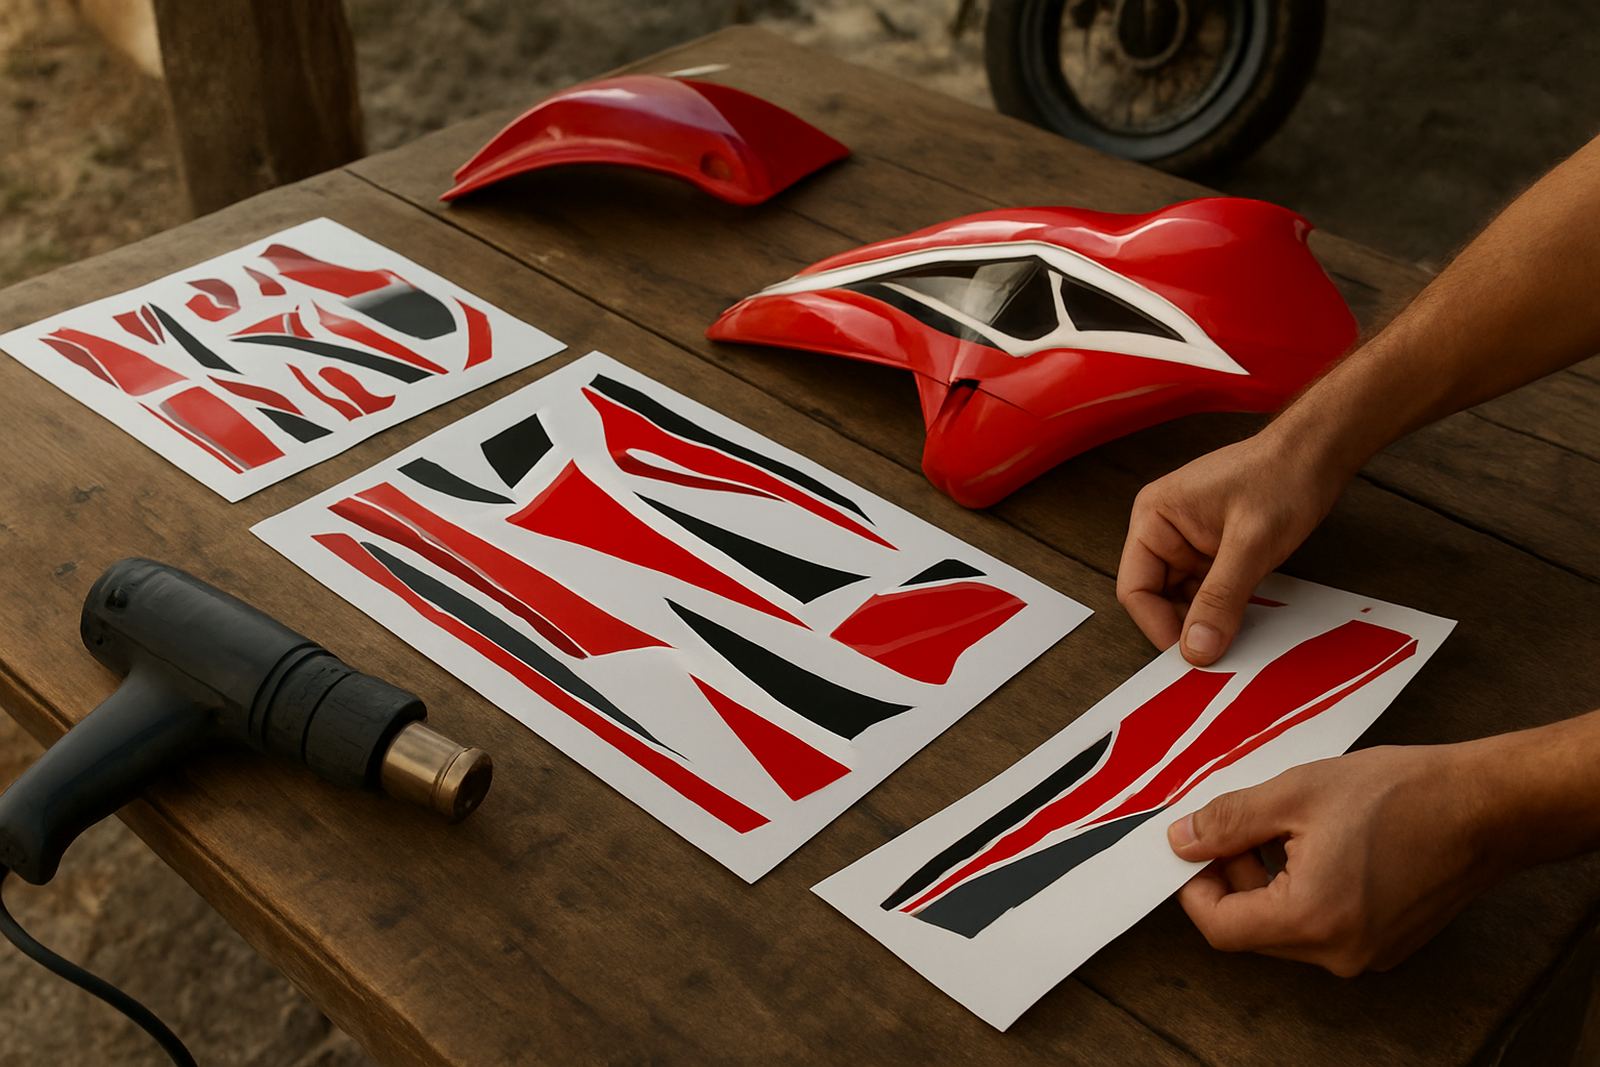
For fairing kits and number graphics, we usually use vinyl suited to curved surfaces and regular cleaning. If the bike sits outside, a laminated finish helps protect colour and edge wear. If you want the graphics to be removable later, say so at the start because not every adhesive is meant for frequent removal. We can also add reflective elements where legal and useful, but the final layout should still suit the bike's line and the rider's taste.
- Standard vinyl for short to medium term use
- Laminated vinyl for extra protection against scuffs and washing
- Reflective vinyl for certain safety markings
- Special adhesive options for panels that heat up more than others
3. Measure carefully before you order any number graphic
Numbers are easy to get wrong if you only guess the size. A number that looks fine on a computer screen can end up too small once it sits on a front fairing or side panel. Measure the flat or gently curved area where the number will go, then allow enough space around it so it does not touch a vent, screw hole or panel edge.
For riding clubs, track bikes and courier bikes, the number needs to stay readable from a distance. If you are ordering for two sides, make sure the left and right versions match. That sounds obvious, but it is where many kits go wrong. We can set the graphics to suit a specific panel size, and if needed we can also prepare the artwork so it follows the shape of the fairing instead of fighting it.
- Measure width and height in millimetres
- Check for curves, vents and bolt points
- Allow extra space around the number
- Confirm whether you need mirrored sides or matching pairs
4. Send artwork that prints cleanly and fits the bike
If you have a logo, race name or custom number style, send the best version you have. Clear artwork saves time and avoids fuzzy edges. Vector files are best for logos and numbers, but if you only have a photo or a screenshot we can still check what can be used. The main thing is to avoid tiny text that will disappear once it is printed and trimmed.
When we do artwork checks, we look at size, colour, spacing and whether the layout will work on the actual panel. For bike decals, spacing matters more than people expect. A design that is too busy can look cluttered once it is wrapped around curved panels. Simple graphics often hold up better on the road and are easier to replace later if a panel gets damaged.
- Use clear artwork, not blurry screenshots where possible
- Keep small text to a minimum
- Confirm colours against the bike's base colour
- Ask for a proof before printing if you are unsure
5. Plan fitment before the bike arrives at the workshop
Good fitment starts before the first panel is peeled. If the bike has existing stickers, they need to be removed properly so the new set can sit flat. Dirt, wax and old glue will cause lifting later, especially around edges and corners. On bikes that have seen a lot of sun, faded paint can also show through if the old graphics were covering only part of the panel.
If you are bringing the bike in for installation, make sure it is clean and dry. If the panels are loose or have cracks, mention it first because that can affect the order of fitment. For riders in the Boland who use the bike daily, we try to keep downtime reasonable and we can discuss whether the work should be done in one session or in stages. That saves a lot of back and forth later on.
- Remove old wax and road grime before fitment
- Tell us if any panels are damaged or missing
- Check that loose fairings are fixed before application
- Plan a dry day for collection or fitment if possible
6. Look after the decals so they last through sun, wash and road use
Once the decals are fitted, a bit of care goes a long way. Avoid aggressive scrubbing and do not aim a high pressure washer directly at the edges. That kind of washing can lift corners over time, especially on motorbike fairings where curves and heat are constant. If the bike is used on dusty roads between Paarl, Wellington and the surrounding farms, a gentle wash is better than letting dirt build up and rubbing it hard later.
Let the decals settle before you do a full wash, and if the bike has just been fitted, keep the first wash light. Park in shade where possible because long hours in strong sun can age any print faster. We also recommend checking edges now and then, especially after a long ride or a service. Catching a lifted corner early is much easier than repairing a torn panel later.
- Use mild soap and soft cloths
- Do not point high pressure water at the edges
- Park in shade when you can
- Check corners after long rides or service work
7. A quick ordering checklist for riders and bike shops
Before you place the order, run through a short checklist so the job is accurate first time. This is especially useful for bike shops, riders' clubs and courier operators ordering more than one kit. It keeps the design consistent and makes reprints easier if you need extra sets later. We can also help with updates if a number changes or the artwork needs a small adjustment.
Use this list when sending your enquiry through the contact page. It keeps things simple and helps us quote correctly for printing, cutting and fitment. If you are not sure about one item, send what you have and we can work from there, rather than guessing and having to redo parts of the job.
- Bike make, model and year
- Panels needed and sizes if known
- Race number, name and any logos
- Colour preference and finish type
- Fitment needed or supply only
- Quantity if you need extra sets